
Step 1: Choose Species
One of the first things to consider when building a deck is what type of wood you want to work with. There are many softwood species to choose from that will suit your client’s taste and budget. We selected pressure-treated Southern Pine for the decking because it is a hardy, affordable choice. We also used treated lumber for the decking substructure – what most contractors favor thanks to its excellent load-bearing strength and affordability.

Step 2: Site Plan & Permits
Any project that’s structural will require site plans, along with permitting. A site plan is also helpful in making sure you stay on track with material needs and the finer details like footing locations. Our project required concrete footings about every 8 feet. Measure off the house, taking care to stake and tie string along the way so you’ll be clear later on where exactly each footing will be placed. Once you’ve staked everything out, check your work to make sure everything’s square or follows the dimensions of your plans to the letter.

Step 3: Dig & Prepare Footings
Before you dig be sure to call 811 to get more information regarding the location of underground utilities. Once we were in the clear to dig, holes were dug 24 inches down and 24 inches across. We then inserted steel rebar for extra structural support within the footing.
PRO TIP: The spacing, number and depth of your footings will vary based on your client’s deck’s design and your client’s area’s building codes as well as frost line.

Step 4: Fill With Concrete
Next, we combined concrete mix with water until we worked it into a peanut butter-like consistency and filled each hole, covering the rebar entirely. We then built simple forms using 2x4s and topped off each footing with the concrete mixture and let it cure for at least 24 hours. This will give the very top of each footing a uniform, smooth surface to attach the post bracket in the next step.

Step 5: Add Post Brackets
With all the concrete cured, we were ready to add our post base brackets. Make sure to center up your bracket with your string line (not the footing itself). We drilled a ½” pilot hole using a masonry bit, then hammered in the anchor bolt to secure the bracket to the footing.
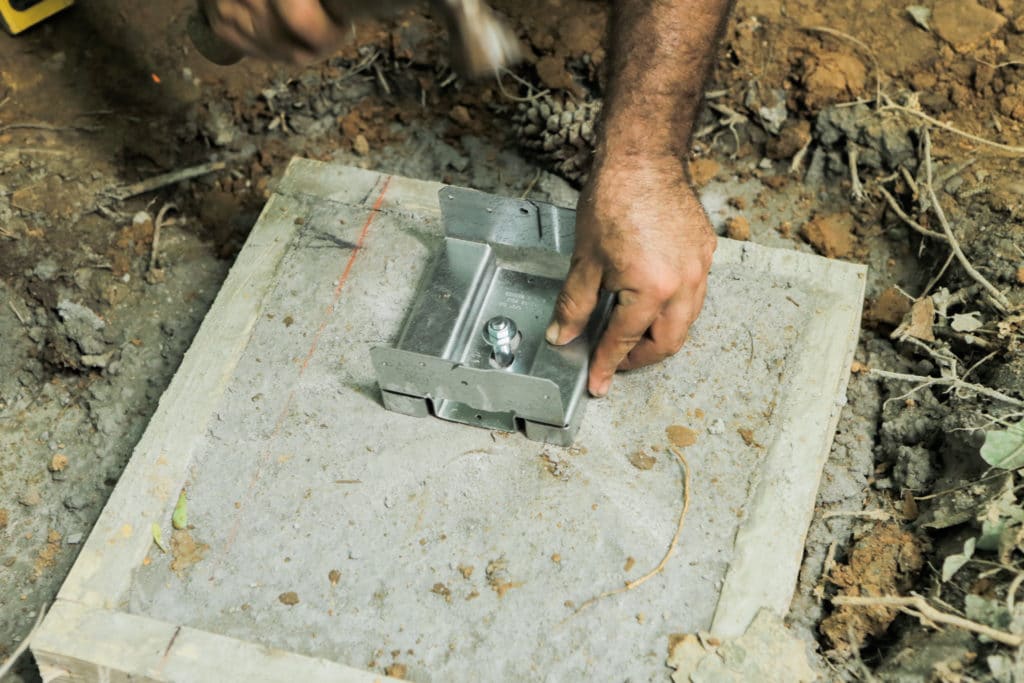
Step 6: Add Posts Into Brackets
Place the 4×4 pressure treated posts into the brackets, then secure with galvanized nails. You can brace the posts with long 2x4s running from the ground to the top of these posts to keep them upright. Remove the bracing as you complete the framing of the deck’s perimeter.
PRO TIP- Keep your posts longer than you anticipate they’ll need to be. You’ll trim them later to be even with the bottom of your ledger.

Step 7: Prep Ledger
This ledger is a 2×12 that is one side of the deck’s perimeter, but also is securely fastened to the side of the home. In order to make sure it’s attached correctly and to code, you’ll need to consider the size of the deck, the home’s cladding, as well as foundation. This home is brick with a concrete foundation within, so we prepped the ledger to receive dozens of ½ x 5” wedge bolts. We did this by pre-drilling holes using a ½” bit.
NOTE- This deck’s design is also considered freestanding, due to the number/placement of its concrete footings.

Step 8: Install Ledger
Once the ledger was prepped, we lifted it up against the house (this takes several people) putting a couple of bolts on each end and a few in the middle, first, to support it as we worked. Using a ½” masonry bit we drilled pilot holes in preparation for the bolts. Attaching a ledger to the home’s exterior is crucial and one of the key things an inspector will be looking at upon completion of the deck, so take care to get this right. Unless the deck is essentially freestanding (like this one), you’ll need to tap into the home’s rim joist or concrete sub-wall with wedge or carriage bolts every 12 inches, off set diagonally, to ensure a secure ledger that can bear the load, so check the local building codes! Just connecting into your client’s home’s siding or a brick façade isn’t secure enough.

Step 9: Tighten Bolts
Once all the bolts were installed, they were carefully tightened by hand.

Step 10: Trim Top of Posts
With the ledger in place, you’re ready to trim the top of the vertical posts to be even with the bottom of the ledger. Using a laser level and chalk lines pulled from the ledger to the outermost post, we marked where to cut each post, then trimmed each one using a circular saw and protective eye wear.
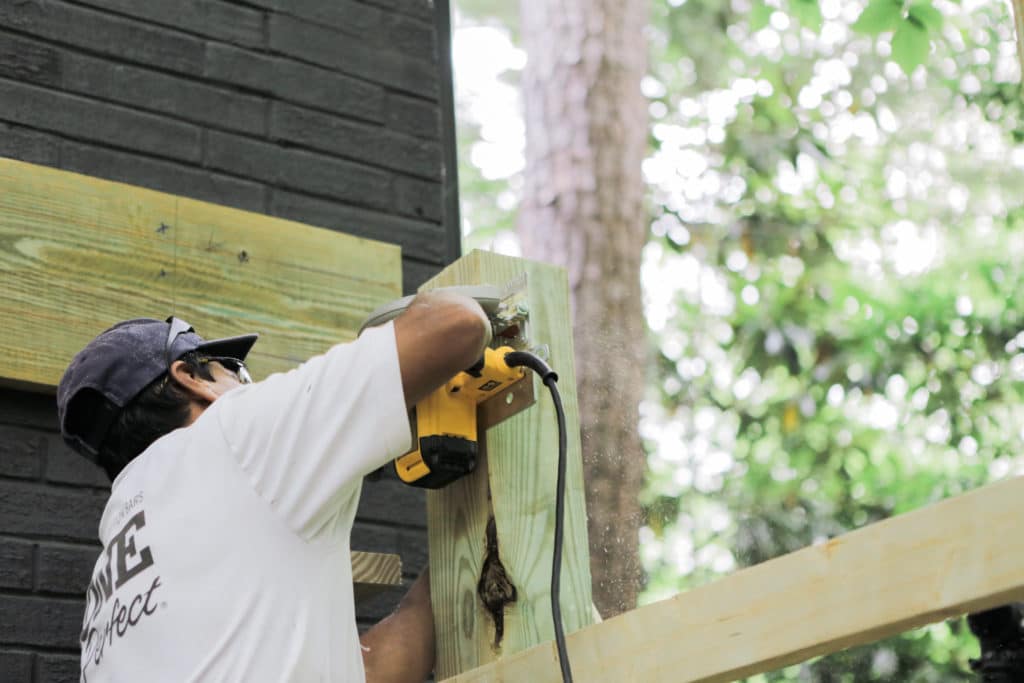
Step 11: Add Post Cap Connectors
With all the posts cut to the proper height, we added the post cap hardware, securing them with galvanized nails. These particular connectors are made to accommodate three 2x12s (a triple rim joist). Why three? It may seem like overkill but in the future this homeowner may want to add a 2nd story deck above, so this deck was designed to carry an extra heavy load, just in case.

Step 12: Frame Out Deck Perimeter
Once each post has a post cap atop it, you’re ready to add the rim joists and build out the perimeter or framing of the deck. As you work, you can remove some of the 2×4 bracing you put up earlier in Step 6 but NOT all of it. Some bracing (like the 2x4s that run parallel below the rim joist) helps keep everything square until you can add the decking floor joists running perpendicular to the house.
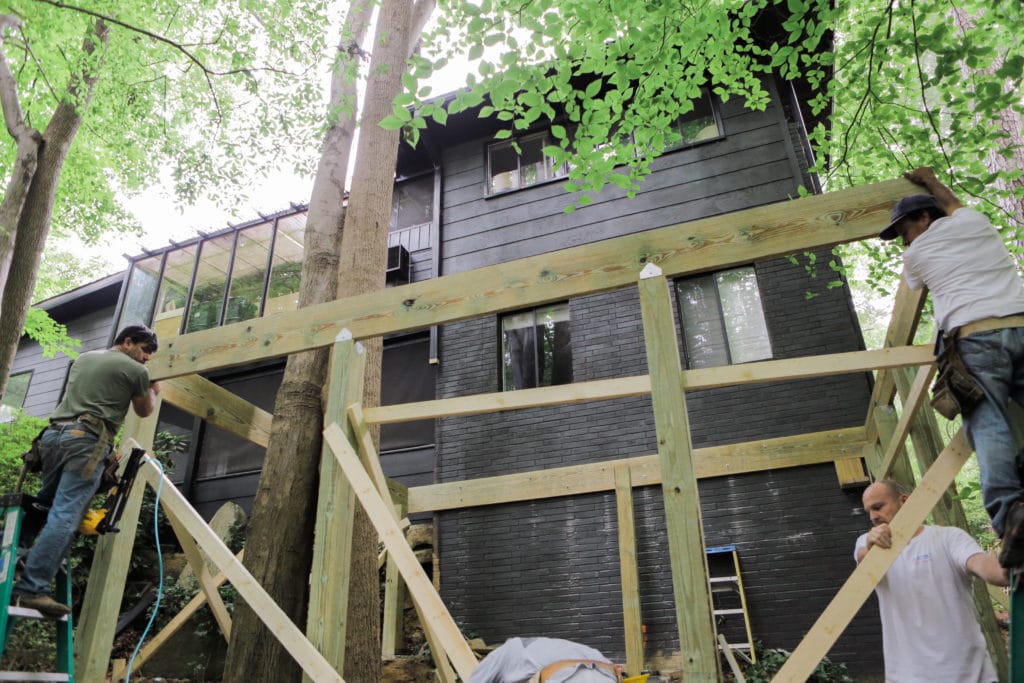
Step 13: Add Joists & Hangers
Once the deck’s perimeter or rim joists are in place, you’re ready to move on to framing out the interior of the deck with floor joists. We cut our 2×10 joists to size, then toe-nailed them into place at 16-inch intervals. Once they were all up, we slipped joist hangers on each end and hammered them into place.

Step 14: Frame Around Trees
With this deck, we encompassed two trees into the design so during the framing process we needed to work around them, while making sure to shore up the area so the floor of the deck was strong and the overall structure was secure. We cut shorter joists and ran them parallel to the rim joists and added some extra bracing for good measure. Once toenailed, we added joists hangers and hammered them into place.

Step 15: Install Decking
Starting at the outer most edge of the deck we began laying down the decking boards, pulling them tight with a puller and securing them to each joist using a nail gun and 3-inch galvanized ring shank nails. We worked our way towards the house. This way, if you need to rip your final board, it’ll be close to the house and no one will notice the irregular size. Our deck spanned the length of a 12-foot board so we didn’t have to worry about staggering the decking, but if you do, make sure you keep it random.
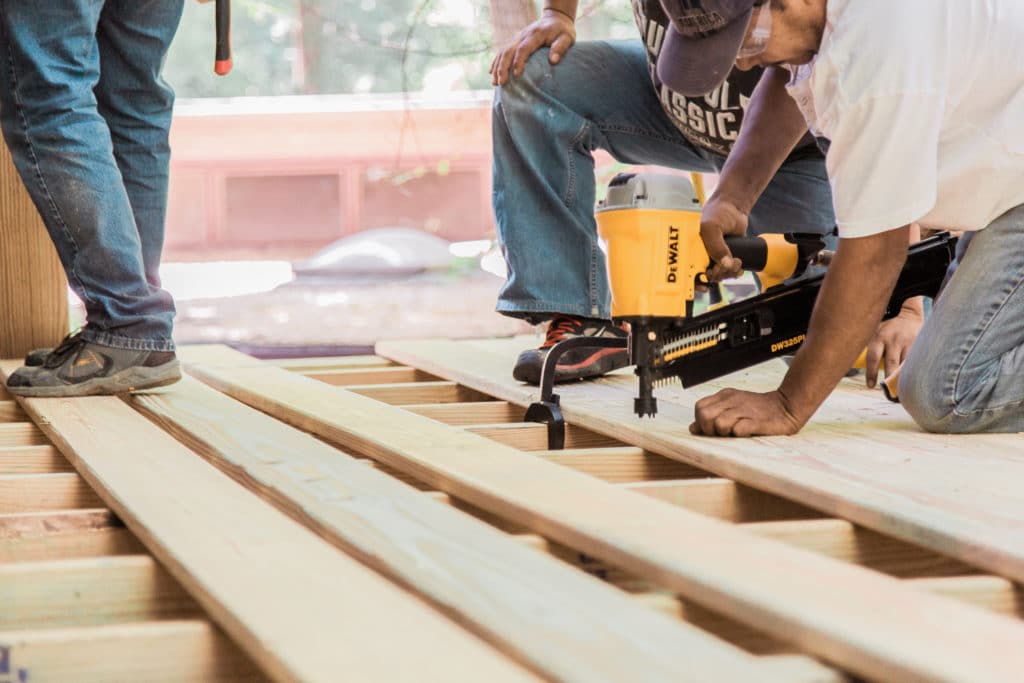
Step 16: Trim Decking Around Trees
Using a reciprocating saw we trimmed the decking boards to follow the line of the tree trunks, making sure to leave a bit of room for growth but not so much that it became a hazard for the homeowners.

Step 17: Trim Decking Edges
With the decking boards down, we snapped a chalk line along the straight edges of the deck, then cut any excess overhang using a circular saw.

Step 18: Add Railing
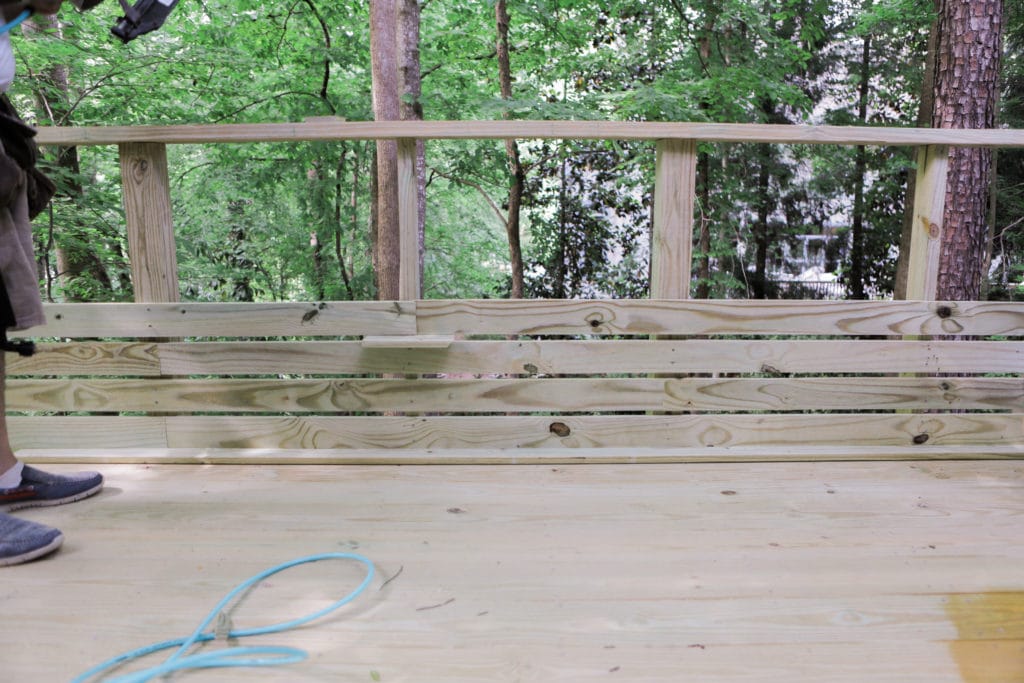
Most decks over 24 inches high will require a railing of at least 3 feet. We attached the railing posts to the deck’s rim joist using carriage bolts, then added a pressure-treated 1×6 drink rail along the top, mitering the corners for a clean look. Next, we finished the railing by adding 1×4 boards secured horizontally with a nail gun. We left a ¾” gap between the boards for air circulation. To keep this process quick, we used the edge of a board as a spacer.
Step 19: Seal Cut Edges
Protect cut edges from the elements by coating them with a wood preservative.

Step 20: Stain the Deck
Once the deck was built, it was time to protect it by sealing and staining it a rich shade of brown. This will stave off moisture, mold and the sun’s harsh rays.


